How do you adjust the clearance in a shearing machine?
2025-03-26
In the realm of industrial manufacturing, precision is paramount. A shearing machine, essential for cutting through various metals and materials, demands meticulous adjustment to ensure flawless operation. One of the most critical aspects of this is adjusting the clearance between the upper and lower blades. This seemingly minor adjustment plays a pivotal role in achieving clean, accurate cuts while extending the longevity of the machine.
Understanding Clearance: Why It Matters
The clearance in a shearing machine refers to the gap between the top and bottom blades. Too little clearance can result in excessive force being exerted on the material, leading to jagged edges or deformation. On the other hand, too much clearance can cause inefficient cutting, with the blades missing their target or leaving unnecessary material waste. Striking the right balance is key to optimal performance, enhancing both the quality of cuts and the efficiency of your production process.
Step-by-Step Guide to Adjusting the Clearance
1. Assess the Material and Blade Condition
Before making any adjustments, thoroughly assess both the material you intend to cut and the condition of the blades. The thickness, hardness, and type of material all influence the ideal clearance setting. Additionally, check for any wear or damage on the blades—dull or chipped blades will require sharper attention during the adjustment process.
2. Locate the Adjustment Mechanism
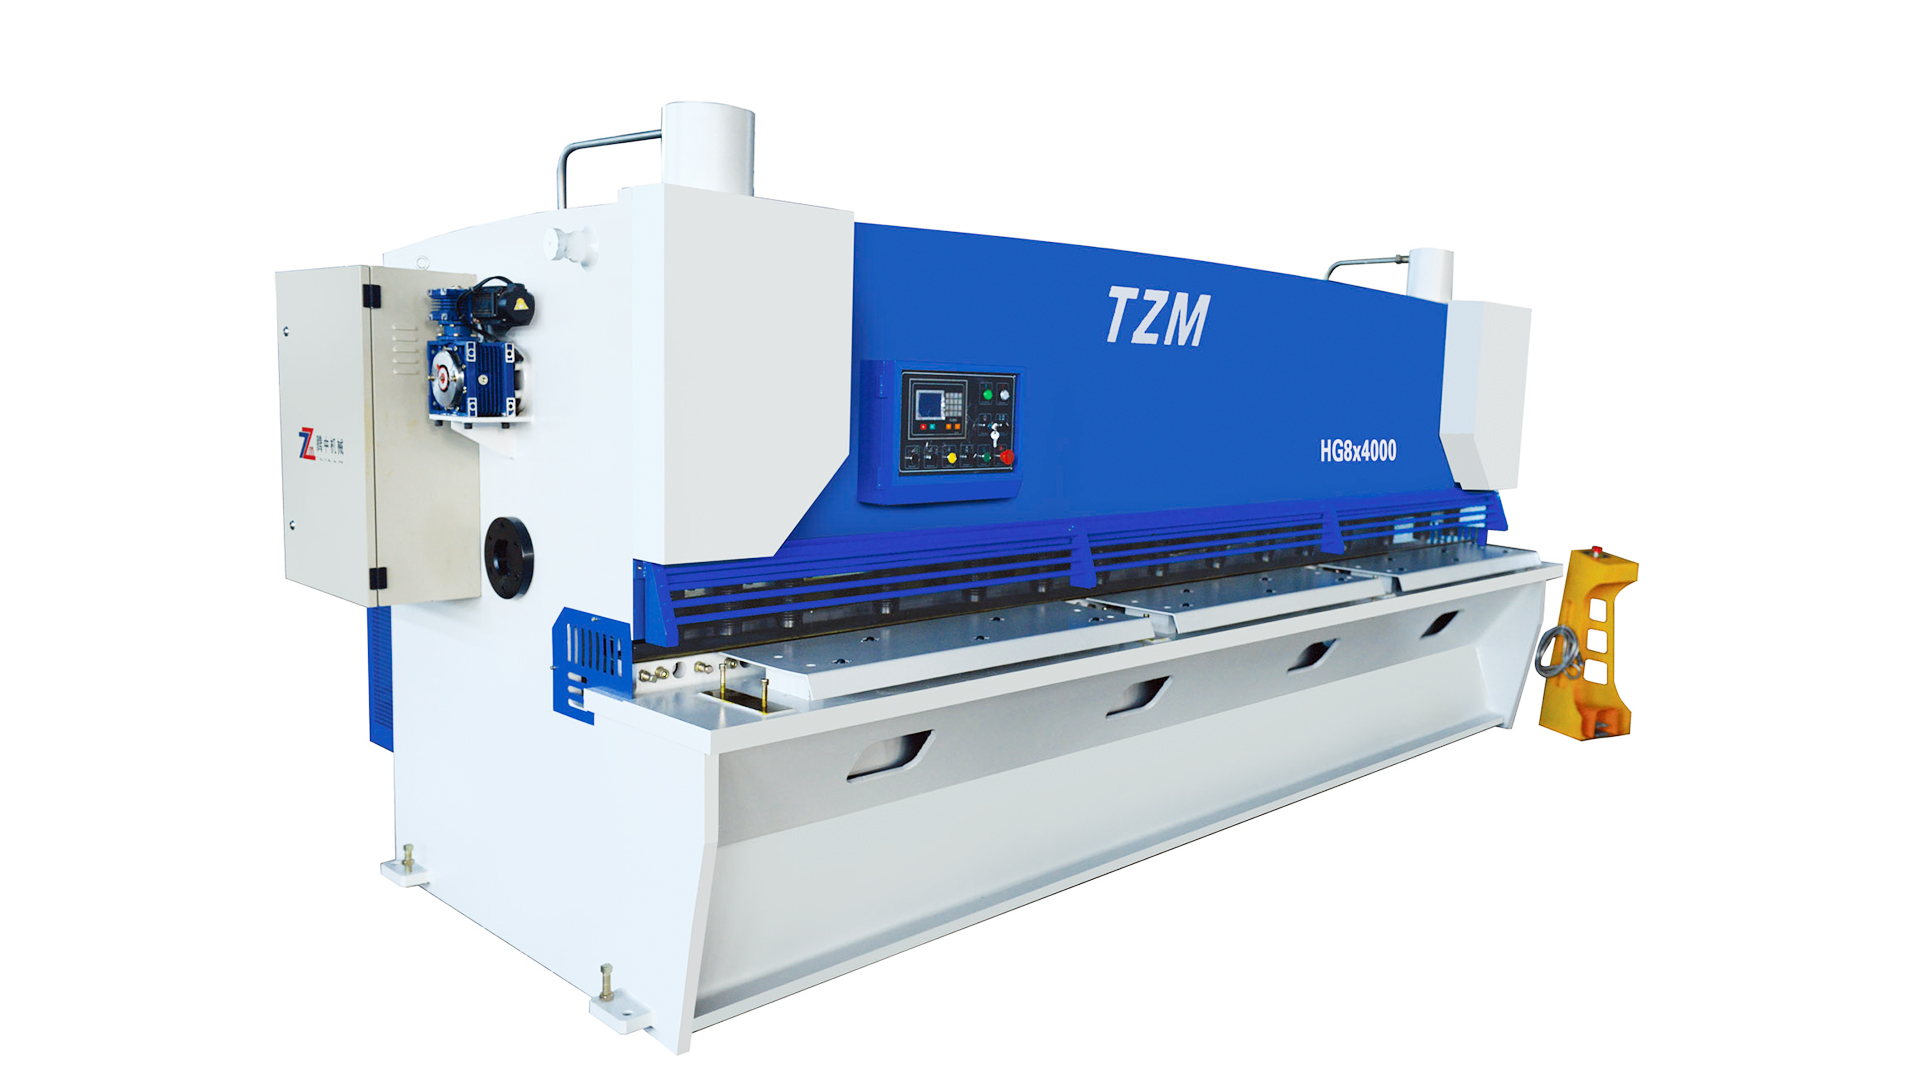
Most modern shearing machines are equipped with an easy-to-access adjustment mechanism. This can typically be found on the machine’s frame, either on the side or at the rear of the blades. Refer to the machine’s manual to locate the exact position of the adjustment screws or bolts. These mechanisms are designed to fine-tune the blade gap to your required specifications.

3. Adjust the Blade Gap
Using the appropriate tool, typically a wrench or spanner, begin adjusting the clearance by turning the screws or bolts. Rotate them gradually in small increments, making fine adjustments to the gap. This should be done symmetrically on both sides of the machine to ensure even alignment. During this process, it is crucial to test the machine at various stages by performing a sample cut, verifying that the material is sheared evenly with no signs of overcompression or distortion.
4. Test and Fine-Tune
Once an initial adjustment is made, conduct test runs with the material that will be processed regularly. Analyze the edges of the cut for smoothness and accuracy. If necessary, make further small adjustments. A well-calibrated clearance will yield precise cuts, with no burrs or excessive force required. Regular testing ensures that the machine continues to perform optimally across various materials and conditions.
5. Monitor the Adjustment Periodically
Clearance settings should not be treated as a one-time fix. Over time, the shearing blades may experience wear, which can alter the optimal clearance. Periodically recheck the blade gap to ensure the machine continues to perform at its best. This is especially important in high-volume operations, where consistent quality is non-negotiable.
Adjusting the clearance in a shearing machine is not merely a technical process; it is an art that requires a keen eye for detail and a deep understanding of the machine’s operational needs. By following a careful, methodical approach to adjusting the blade gap, you can ensure that your shearing machine operates at peak efficiency, delivering precision cuts while prolonging the lifespan of your equipment. Always remember, the key to excellence lies in continuous monitoring and fine-tuning.

 English
 русский
 Français
 Español
 Português
 عربى
عربى


